How to upgrade your laptop's memory and improve performance
Is your laptop running slower than usual? It might be time to upgrade your memory to improve its performance. Upgrading your laptop's memory is a relatively simple and cost-effective way to boost its speed and efficiency. In this article, we will guide you through the process of upgrading your laptop's memory step by step.
Step 1: Identify the type of memory your laptop uses
Before purchasing new memory modules, you need to determine the type of memory that is compatible with your laptop. You can usually find this information in the user manual or by visiting the manufacturer's website.
Step 2: Purchase the new memory modules
Once you have identified the type of memory your laptop uses, it's time to purchase the new memory modules. Make sure to buy modules that are compatible with your laptop's specifications to avoid any compatibility issues.
Step 3: Prepare your laptop for installation
Before installing the new memory modules, make sure to power off your laptop and disconnect any external devices. You should also ground yourself to prevent any static electricity damage to the components.
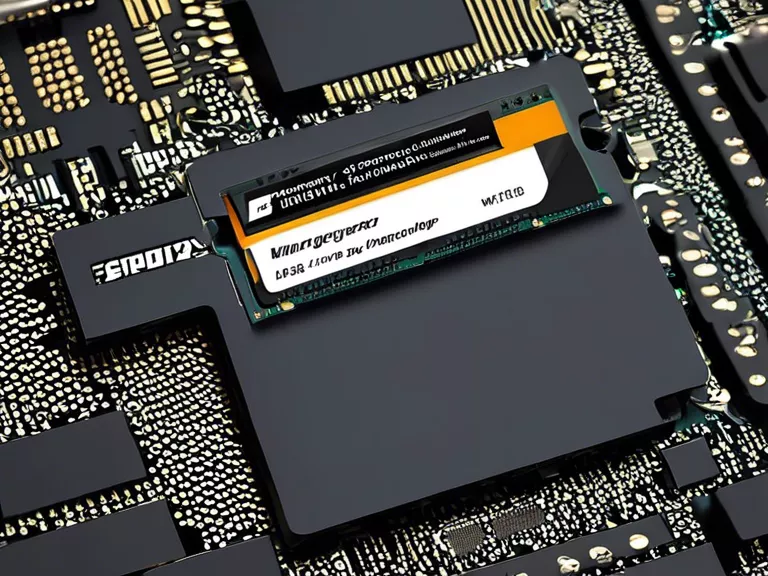
Step 4: Install the new memory modules
Carefully open the memory compartment on your laptop and remove the existing modules. Insert the new memory modules in the empty slots, making sure to align them correctly. Close the compartment and power on your laptop.
Step 5: Verify the memory upgrade
Once your laptop has booted up, go to the system settings to verify that the new memory modules have been recognized. If the new memory is detected, congratulations! Your laptop is now equipped with upgraded memory.
By following these simple steps, you can upgrade your laptop's memory and significantly improve its performance. Enjoy a faster and more efficient computing experience with your newly upgraded laptop!